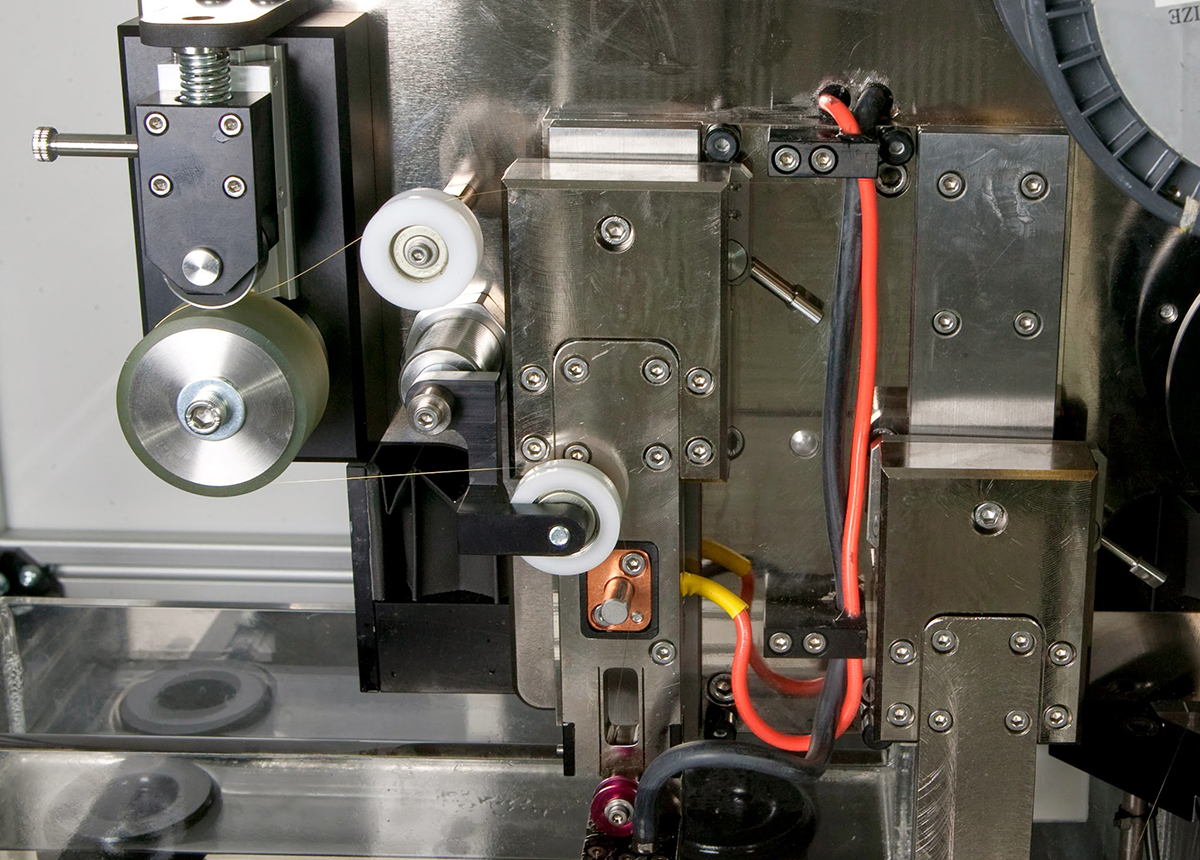
“Design project
Design a wire handling system for very small diameter wire for with an extreme level of precision for micro-wire EDM system.
Design Challenges:
The diameter of typical EDM wire is between 0.1-0.3mm (0.004-0.012in). The wire for this system would range between 0.01-0.1mm (0.0004-0.004in) and setup should remain the same when the wire diameter is changed.
This system was intended to manufacture long parts with micron sized features. The maximum cutting length would be 102mm (4.01in) in length. The maximum allowable error for this system was 0.0004 mm (0.000016 in). To meet these requirements, the system would need to be able to position and hold the wire with extreme precision.
Not every part this system will make, will need a cut length of 102mm. Actually, a cut length of 102mm can be very problematic for smaller parts. If the cut length is significantly larger than the part requires, vibrations in the wire itself will become an unacceptable source of error unless the cutting speed is very slow which is not desired.
Solution:
Holding a wire with a diameter of 0.01mm is not a trivial design problem especially under the needed tension.
The wire holder from a machine for larger wire cannot be “cut and pasted” into this system. These machines were not designed to control such small diameter wire and thus lack the needed precision. A V-groove cannot be machined in a part for the wire to ride in even with the most advanced cutting tools because at the scale of our smallest wire there will still be a radius larger than this wire which will kill the precision of the system because the wire will not always set in the same position.
As the wire advances over the wire holders, wear will be an issue for the wire holders. An easy solution to address wear would be to continuously rotate the wire holder to ensure that the wire is not constantly rubbing the same place. To rotate the wire holder, a bearing would be required. However, bearings are not a viable design solution because of the following reasons:
- Their runout tolerances would result in a larger error than the allowable wire placement error
- The lifetime of the bearings would be unacceptably short because the bearings will be submerged in liquid filled with eroded metal particles from the EDM process. The metal particles will get into the bearings even sealed bearings due to their size and destroy the bearings.
The design approach taken for the wire holder was to focus on how a sharp edge at our 0.005mm radius scale could be created. Traditional machining methods were off the table and non-traditional machining methods did not appear like viable solutions after researching them. After much research and thought, an assembly seemed like the best solution to hold the wire. The needed sharp edge could be achieved by clamping two parts against one another and if these two parts were made out of a very hard material, you could minimize the wear problem without constantly rotating the wire holders.
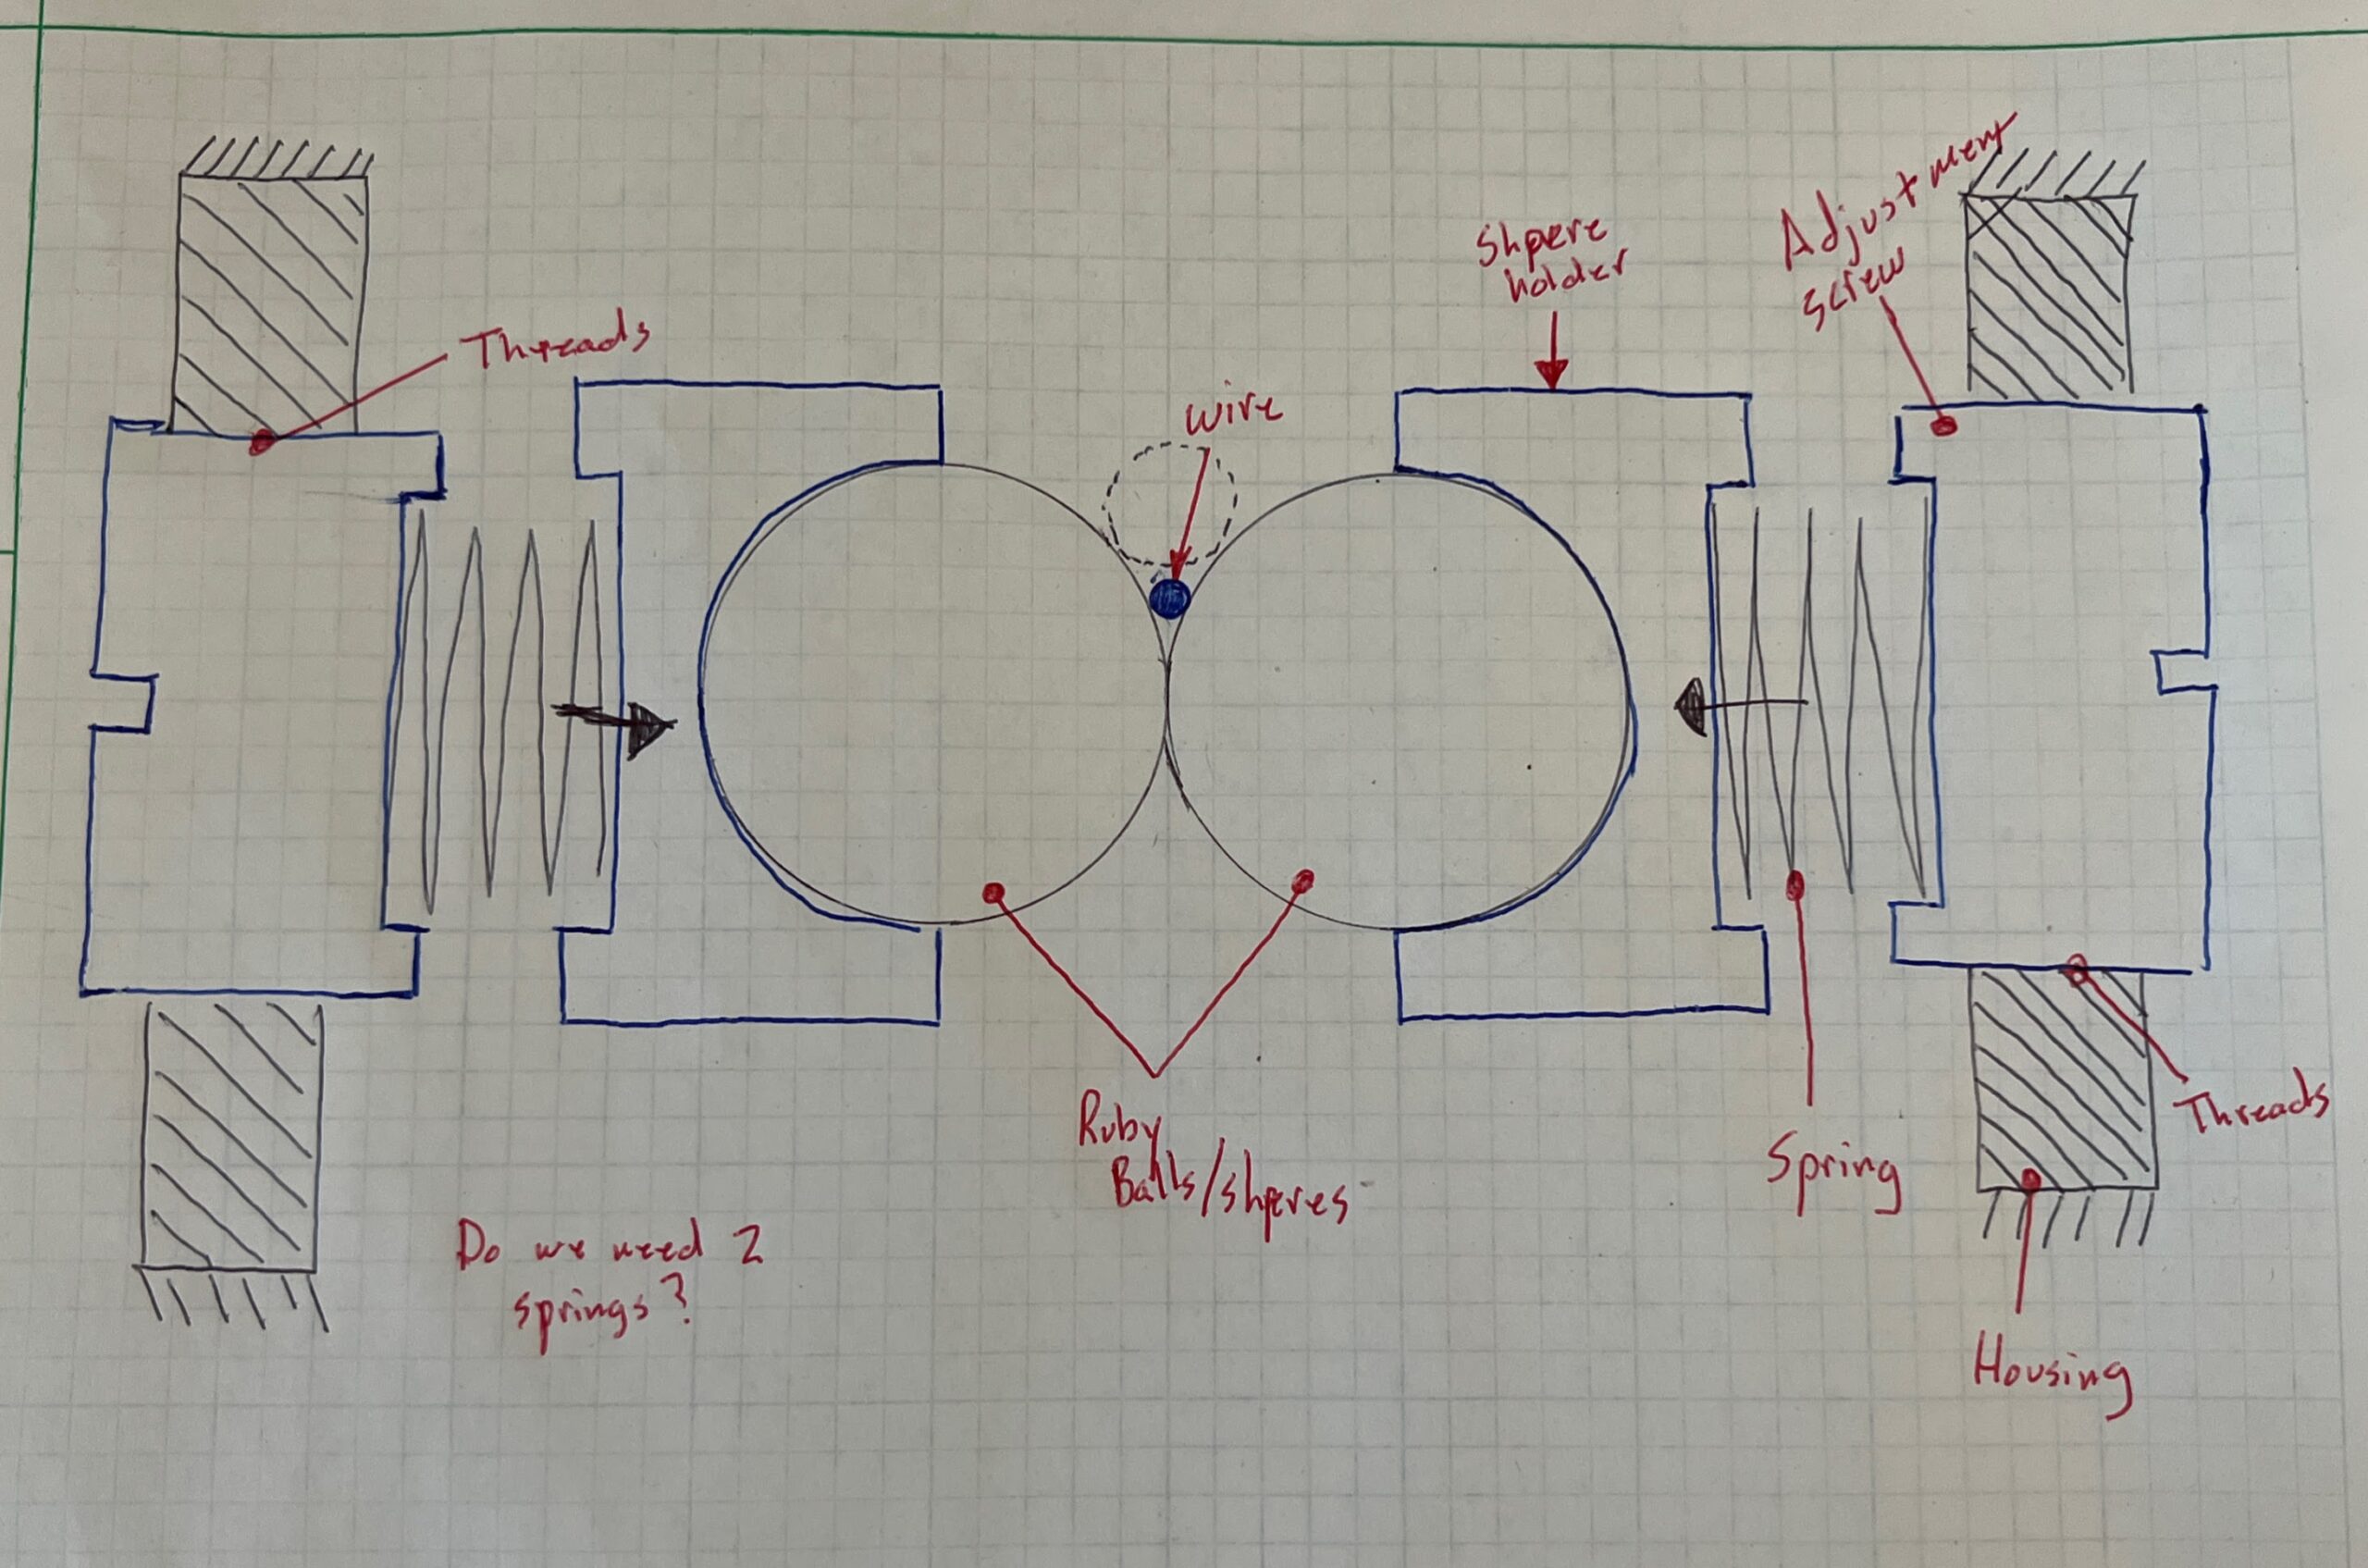
The initial design was two ruby spheres spring loaded against one another. This would result in a sharp edge between the spheres for every size of wire. Since ruby is the second hardest material there should not be wear issues even with tungsten wire. After refining this concept, there were several issues that could not be overcome. Spring loading the spheres against each with enough force to keep the wire from pulling through the spheres would result in unacceptably high contact stress in the spheres. The spheres would not allow for an easy method to change the wear surface.
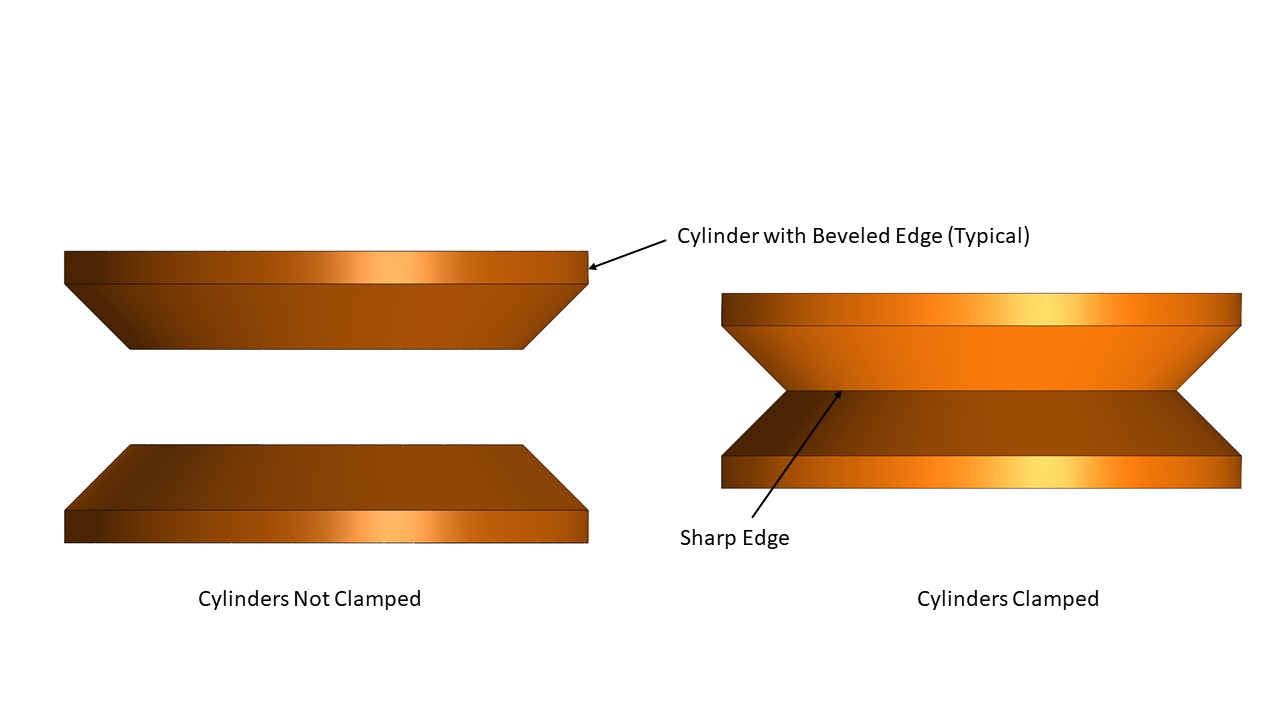
The final design was to clamp the flat sides of two ruby cylinders together. One of the edge of each cylinder would be beveled. Clamping the beveled edges together would result in a shape edge for our wires. Clamping the flats of the cylinders together with enough force to keep the wire from pulling through the cylinders results in acceptable stresses in the cylinders. This construction also allows for an easy method to change the contact surface on the cylinders by loosing the clamping screw rotating the cylinders and then retightening the clamping screw.
.
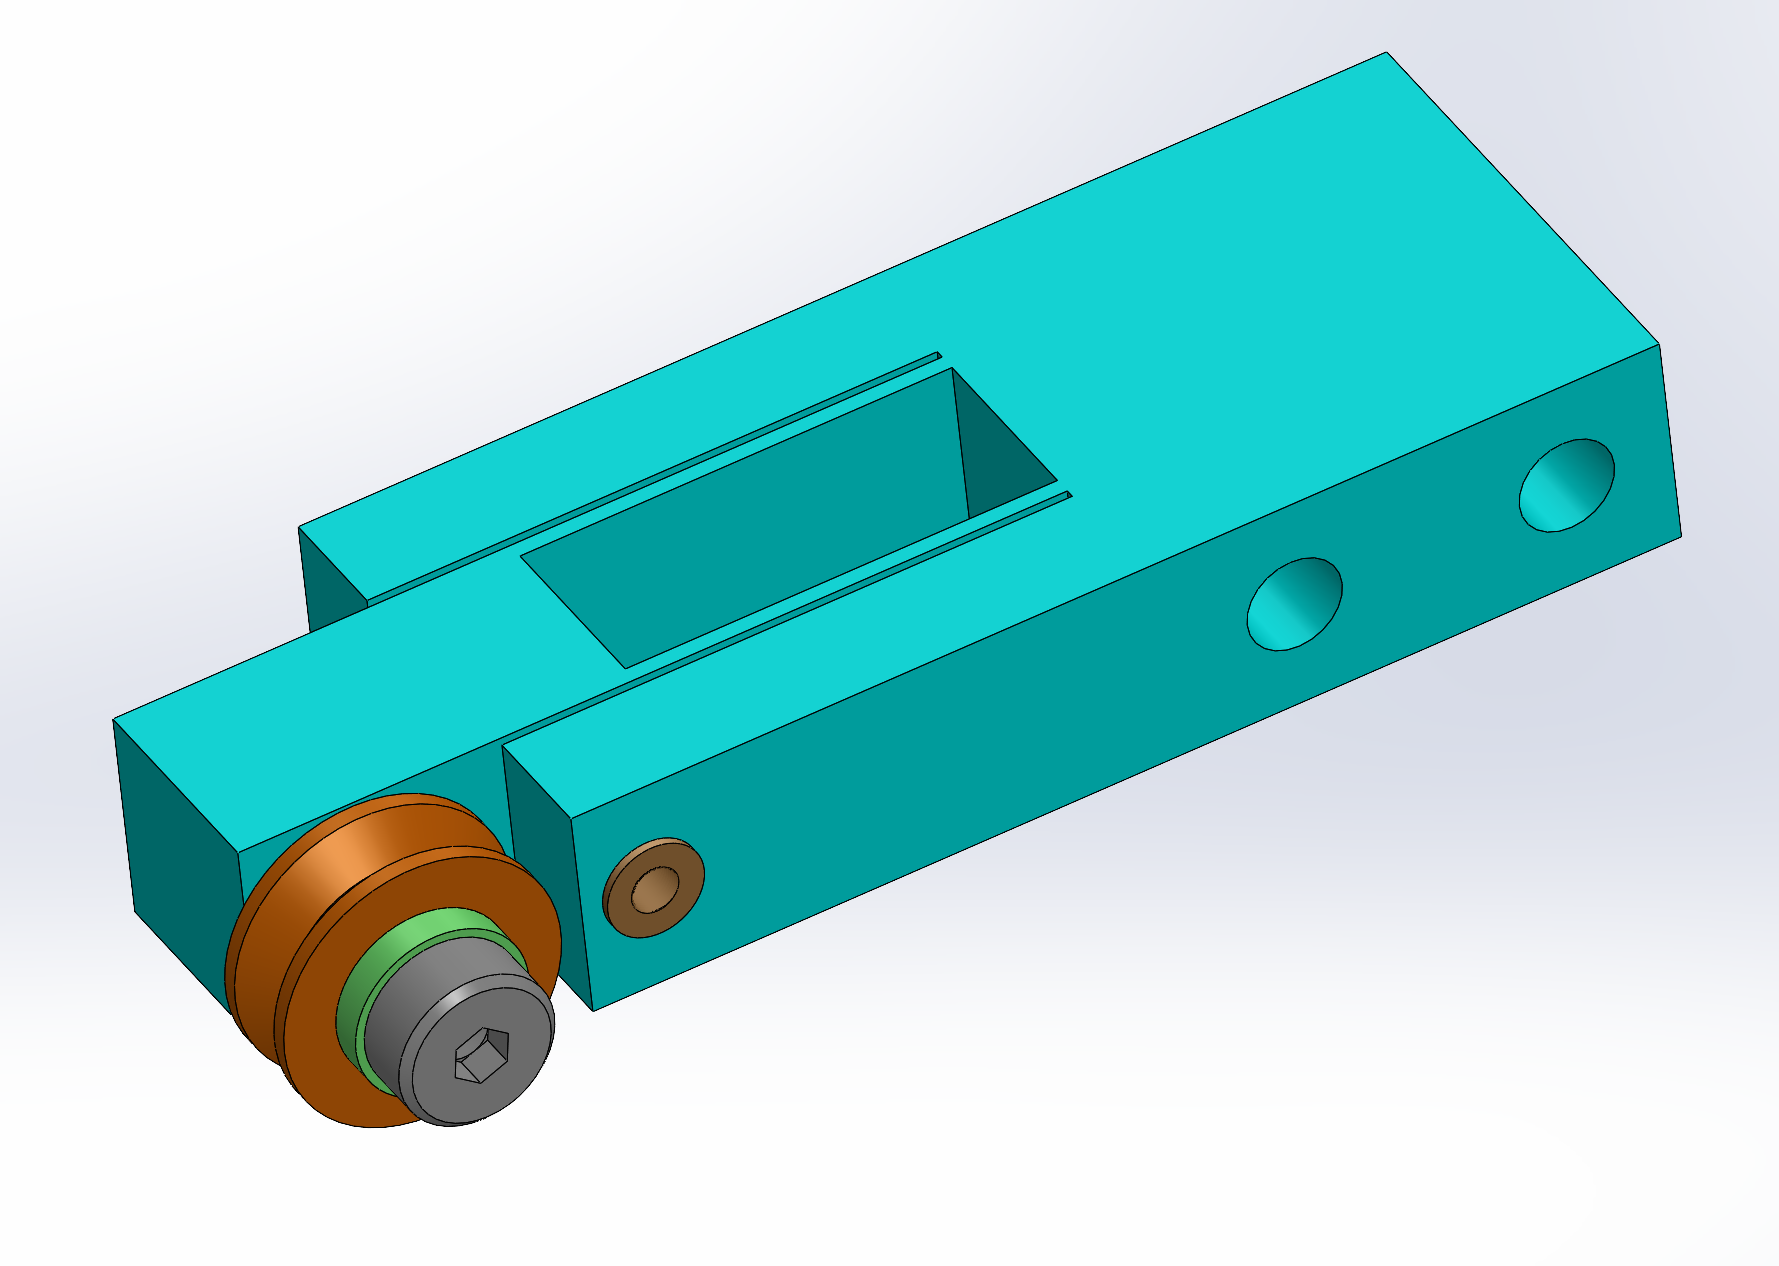
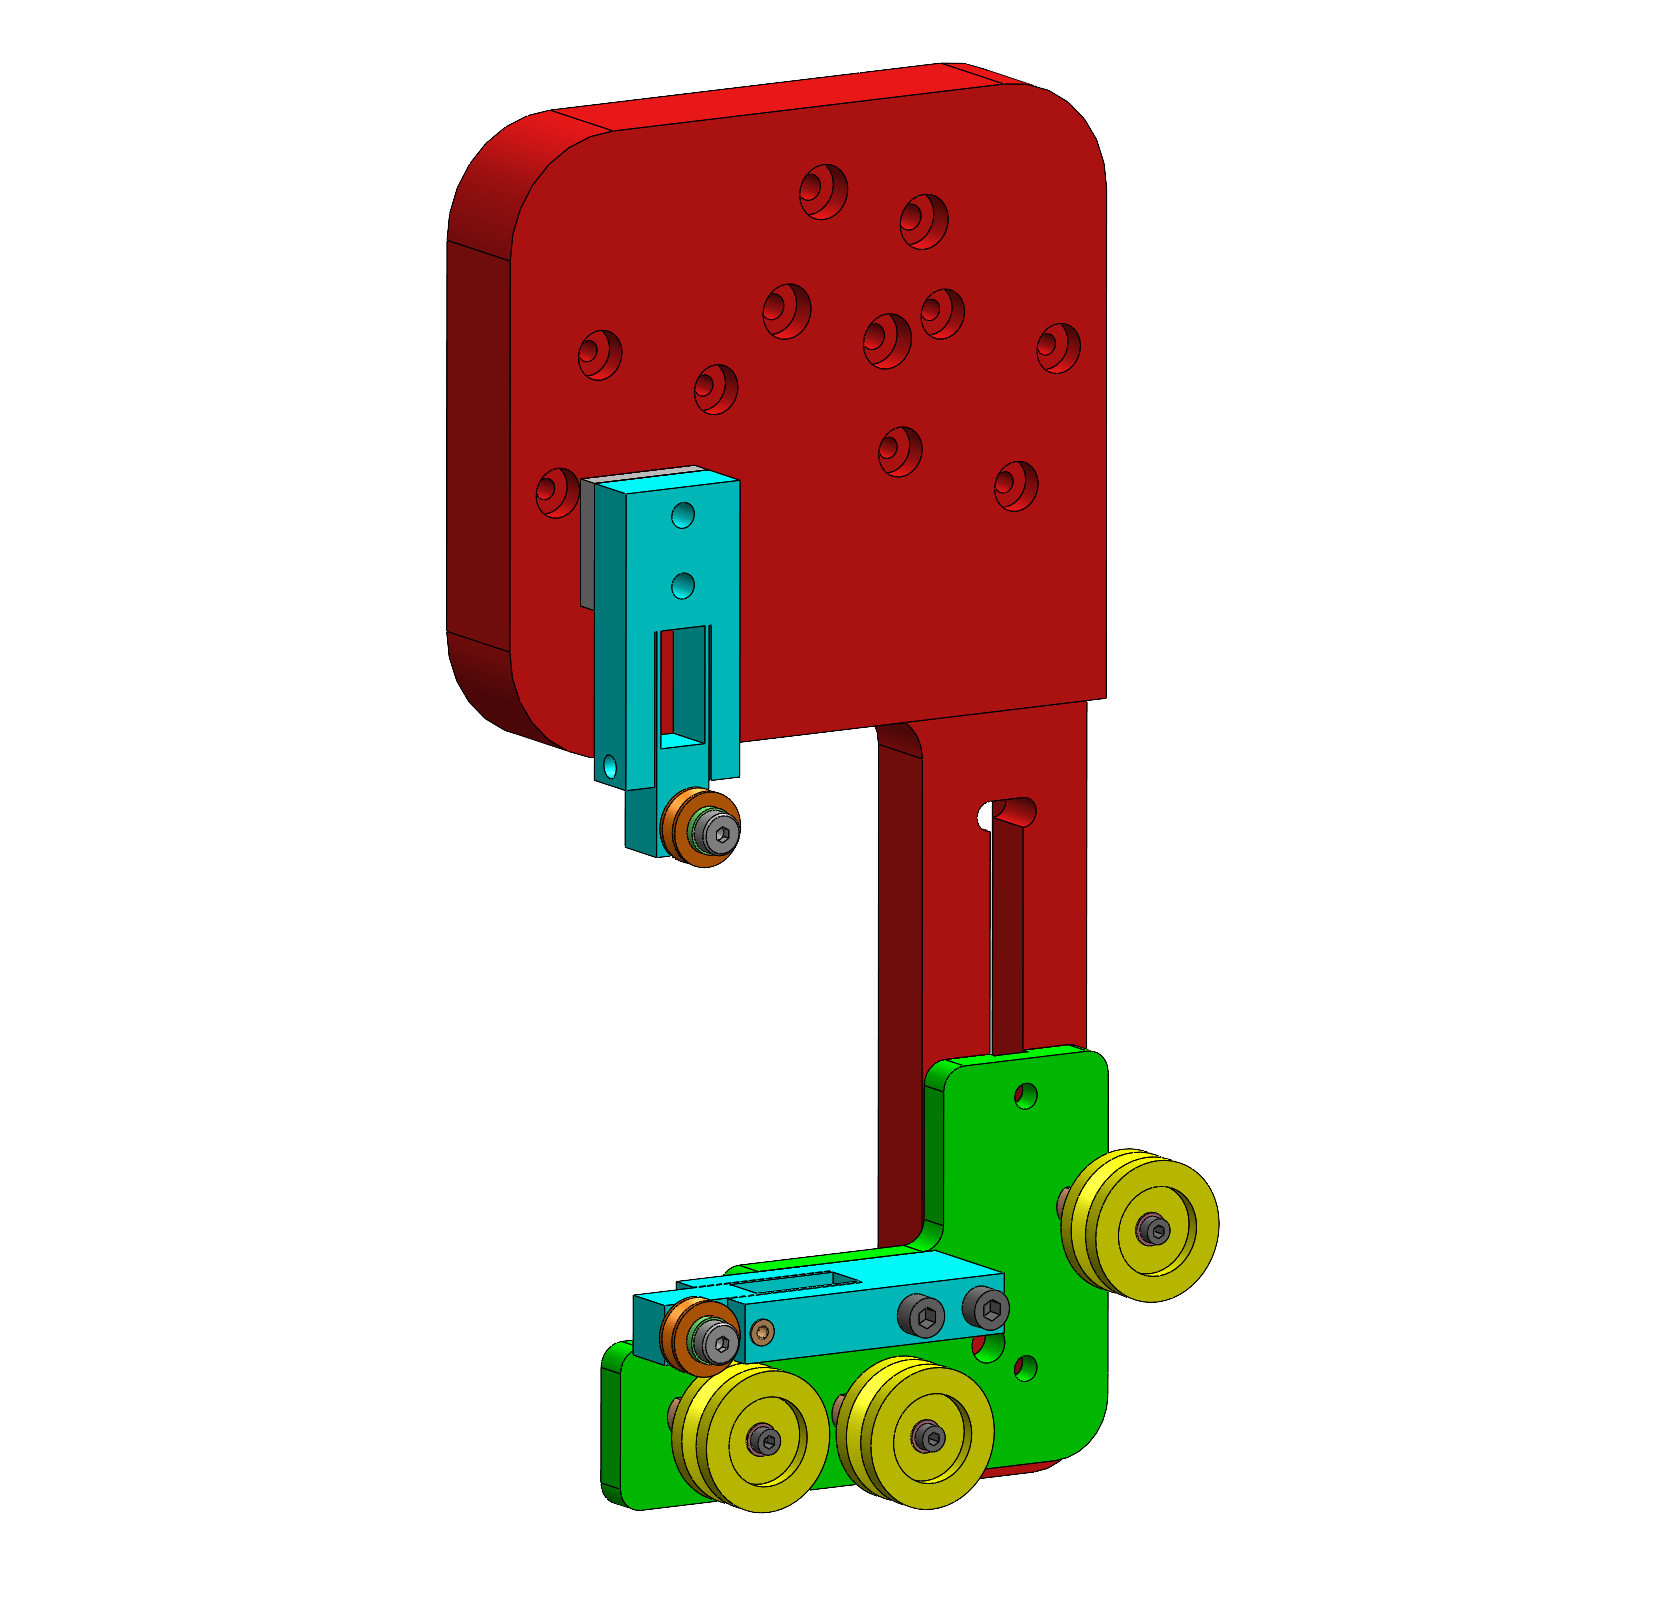
To setup the wire between in the wire holders accurately enough to meet our needed precision required adjustability in two axis. Flexures were the obvious choice to provide the needed adjustability because they allow for very precise movements and they do not have backlash. Finite element analysis was used to optimize the length and width of the flexure arms.
Instead of designing one very complicated flexure that can translate in two axes, a single blade flexure was designed and used twice to provide the adjustability needed in the two axes. Since both flexures would hold a different wire holder they can be used to control the two perpendicular axes. One flexure would hold the top wire holder and provide adjustability in the X axis. The second flexure would hold the bottom wire holder and provide adjustability in the Y axis.
To change the cutting length, the bottom wire holder was designed so that it’s distance from the top holder could be adjusted. Linear bearings were not used in this application for the same reason rotary bearings were not used for the wire holders. Instead, very precise features were designed into the system that would allow the position of the bottom holder to be changed.
Conclusion
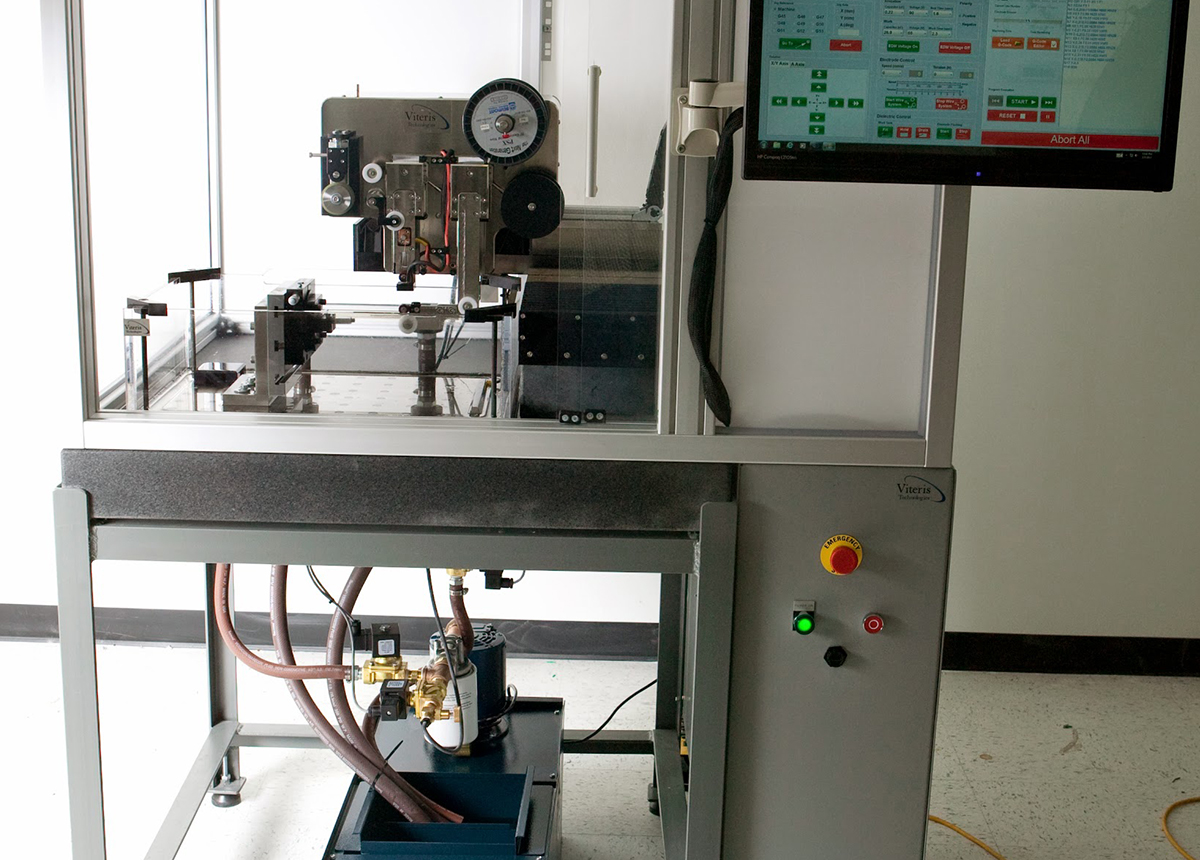
This design design allowed this m-wEDM to use unprecedentedly small diameter wire (for its time) and achieve an extreme level of precision. This design was able to very precisely cut micron-sized features with a cutting length range of 4-102mm. This design was incorporated into the design of the m-wEDM MW250 from Viteris technologies. This design was also incorporated into Viteris’ 4-Axis Hybrid Machining Center the VHMC01. More information about these machines can be found at viteris.com

0 Comments